While on vacation I had a chance to play a game of Johnny Reb III, now not that bad of a rule set, but I still love Johnny Reb II more. Alas I have no copy of thous rules any more, but here is how the battle went down, before I had to get back on the road and head for home.
Port Gibson: 1st of May, 1863; Mississippi
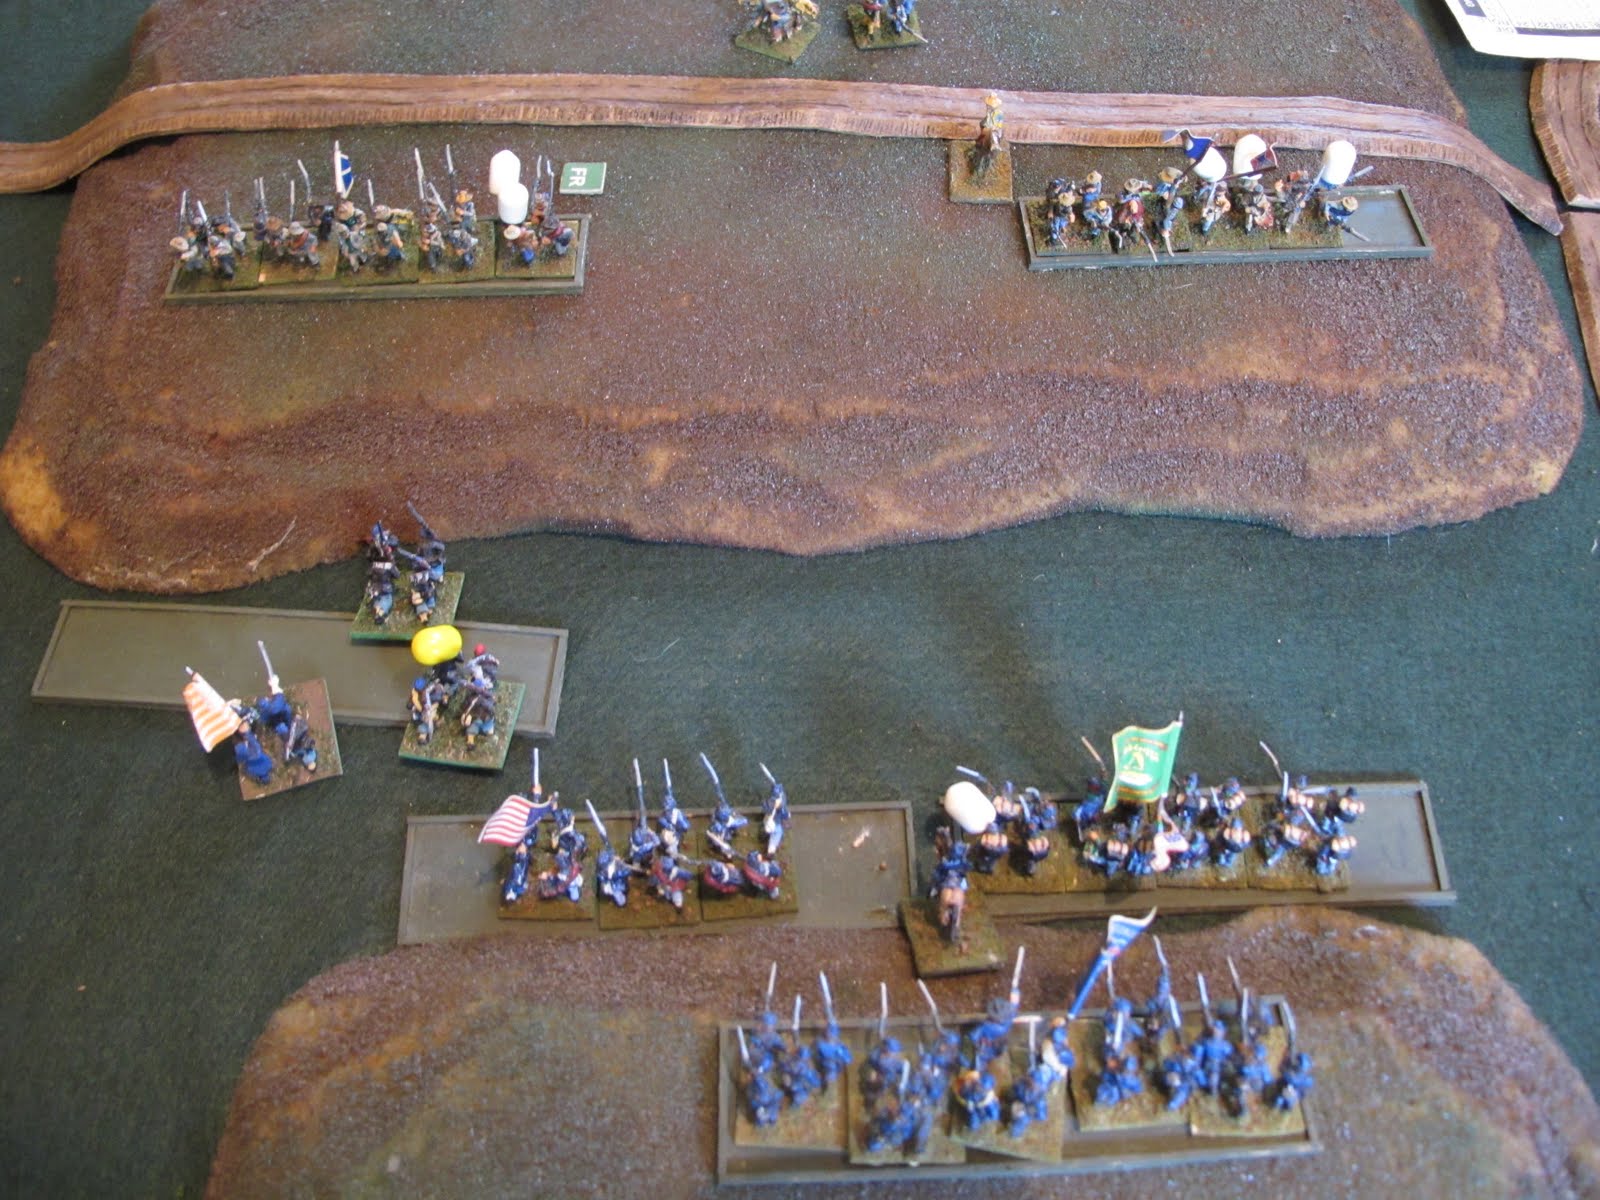
Here are the battle lines, I played the Yanks and my opponent took the Rebs.
One thing that made this engagement interesting is the fact that the only open ground was on the hill tops and all the ground in the valleys was ruff and slow going, 3" a turn compared to 6" on the hill tops.
 |
| The Battle Lines (Left Flank), Yanks on the Left & Rebs on the Right. |
 |
| Battle Lines (Right Flank), over looking Yankee Artillery |
That how we set up, we had not put the road down yet but there is a road that pass behind these hills and to my left flank. The objective here was to capture the three crossroads on the left side of the board. I had another Brigade that would come in on turn four and he had one that would be marching in on turn one opposite were I placed my artillery.
 |
| Here is a shot of my center and left flank and the crossroads that were the objective. |
 |
| Looking over the hill, throe the fog of war, at the Rebel lines. |
 |
| Brigade General prepared to lead a push up the center (it did not turn out well). |
Turn One:
 |
| Yank Turn I, the left flank advance in to ruff ground. The red cap mark they have not shot yet, which is a major plus to their opining volley. |
 |
| The Center goes forth and the Right stand firm. You can see the Rebs marching on far side of the board. |
 |
| Another shot of the left flank. |
 |
| Rebels Turn I: Turn from column and prepared to cross the field in the face of cannon fire. |
Turn Two
 |
| The center closing to charge, white caps shows casualties. |
 |
| His opening volley did already has me at a stand down, but I have more men then he does. |
With only 3" a turn in the ruff ground between the hills and the danger of charging to soon and arriving in disorder, it would have took me a few turns to cross the ground. I elected to move to normal range, and then stand and shoot. While me extreme left flank advanced to charging distance.
 |
| The center still advancing. |
Turn Three:
 |
| Still plugging away here, but ... |
 |
| The Rebs are down more stands then me. |
 |
| I still have not fired my opening shots, a bonus I wasted by not moving in closer and fire on the move (rather than standing and shooting) |
 |
| Not much action on the Right, just a few casualties due to cannon fire. |
 |
| End of Turn Three, break for lunch. |
Turn Four:
 |
| Disastrous charge, one unit bounced back in disorder, the other running for the hills. |
I did not weaken his line enough before the charge, and the cannon did me in. This was a big mistake for me but not game ending, I had fresh reserves that I could throw in to the fight down the Center.
 |
| Another failed charge, but combined fire force one of his units to run. |
|
|
This time my unit only shook not routed, yellow cap, but my sustained fire down at the center of his line forced a morel check and he ran.
Turn Five:
 |
| My reinforcements. |
|
|
This was unfortunately the end of the game, I had a plane to catch and we could not keep going. On a bright side, a lot of these miniatures were ones I painted in High School and Jr. High. It was nice to see them again, plus my opponent sent them up to me, so now I have a divisions of Yanks and division of Rebs to play with any time I want.
Well what do you think, is this an interest to you are is historical not your thing?


No comments:
Post a Comment